Video walkthroughs
Ten short, narrated walkthroughs of the things people ring us about — each one under half a minute.
Tap a tile, or find the same video inside its own article below.
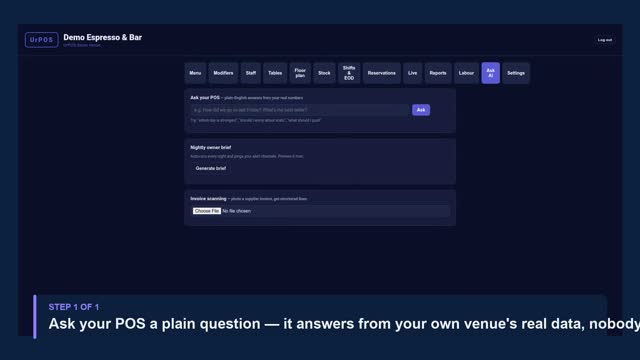 ▶The POS with a brainAsk it anything — it knows your numbers
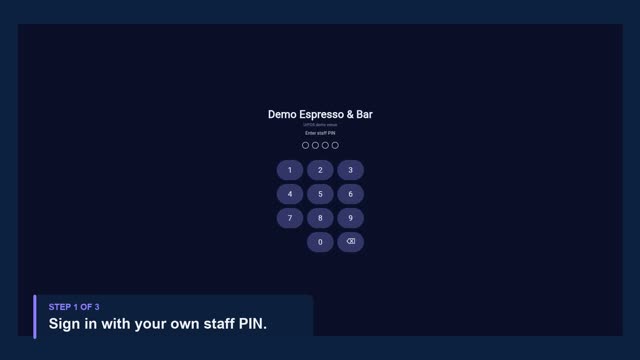 ▶Using the registerSign in, open a table, take the order
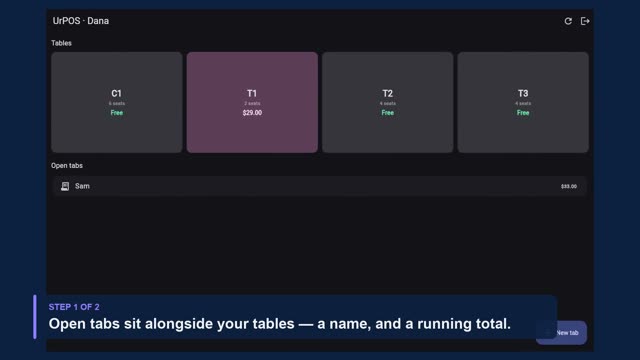 ▶Split a bill by seatTrack who ordered what
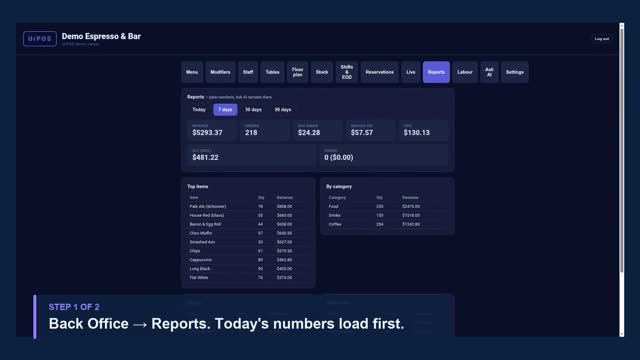 ▶Find your takingsRevenue, orders, tips and GST — for any period
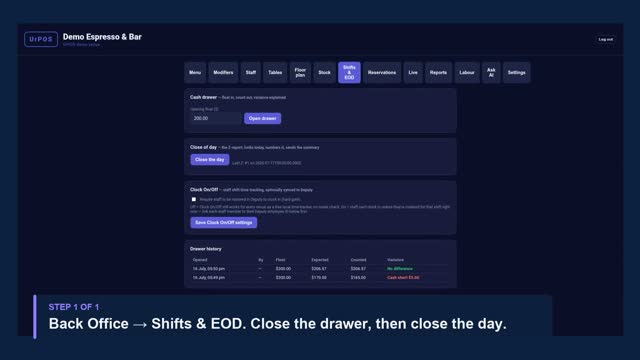 ▶Close the dayCount the drawer, print the Z-report
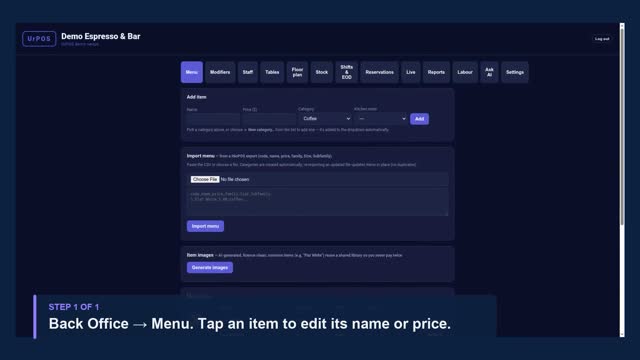 ▶Change a priceEdit any item — it reaches the terminals in seconds
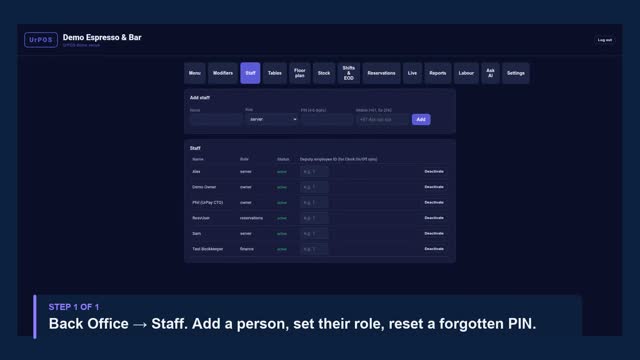 ▶Add staff, reset a PINEveryone gets their own PIN
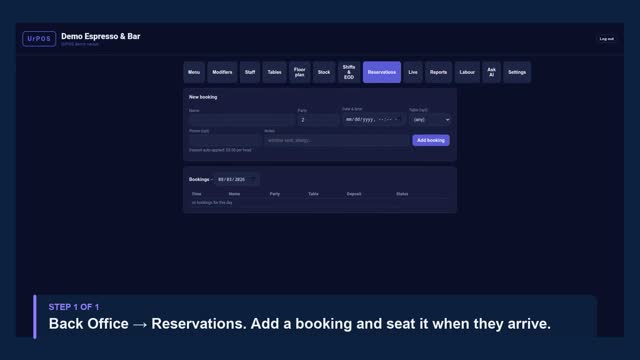 ▶Take a bookingAdd it, seat it, mark a no-show
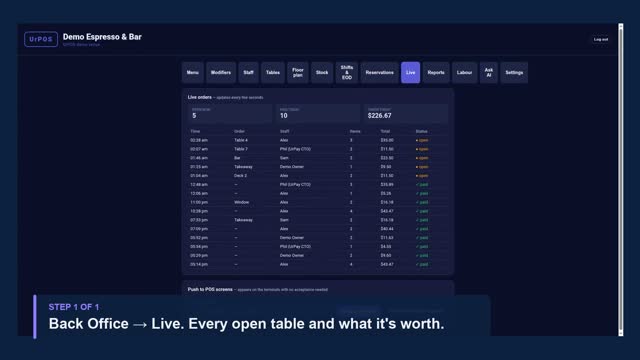 ▶What's happening right nowOpen tables and today's trade, live
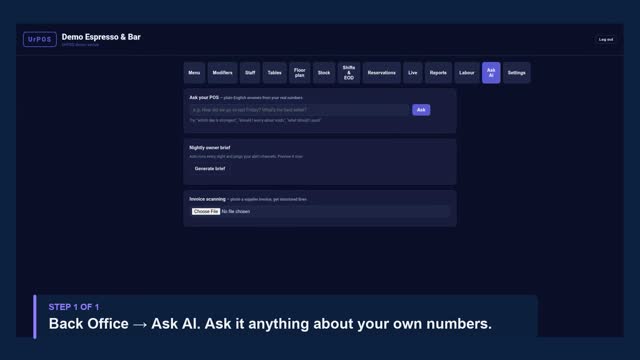 ▶Ask your POSPlain questions, straight answers
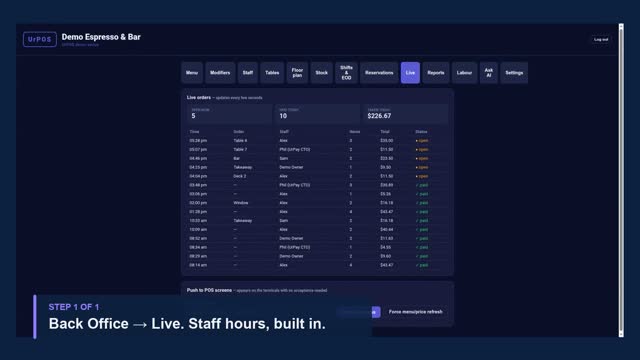 ▶Clock on & offStaff hours, built in
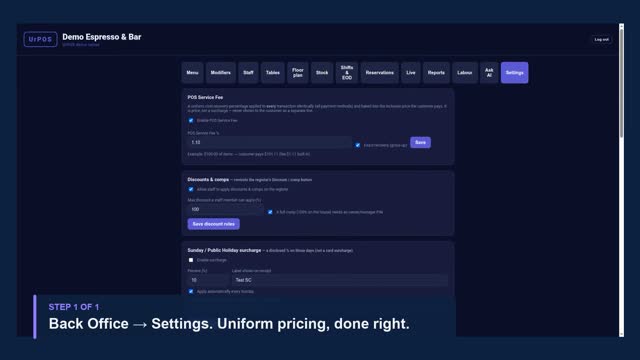 ▶The POS Service FeeUniform pricing, done right
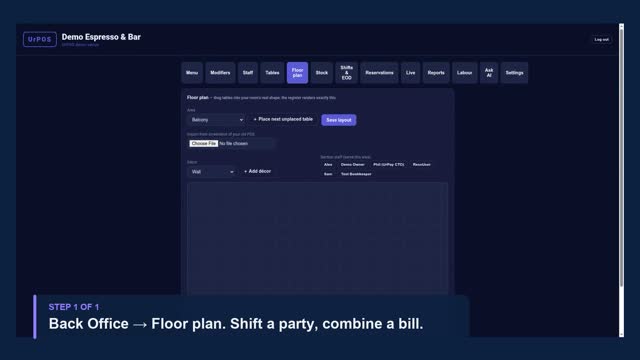 ▶Move & merge tablesShift a party, combine a bill
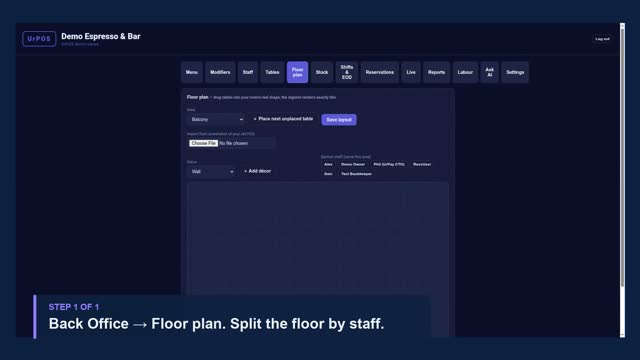 ▶Server sectionsSplit the floor by staff
 ▶QR ordering at the tableGuests order from their phone
 ▶Text-in orders & Pay-by-LinkTake payment without a terminal
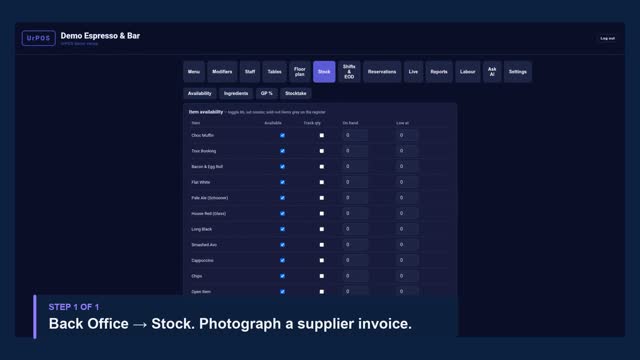 ▶Invoice scanningPhotograph a supplier invoice
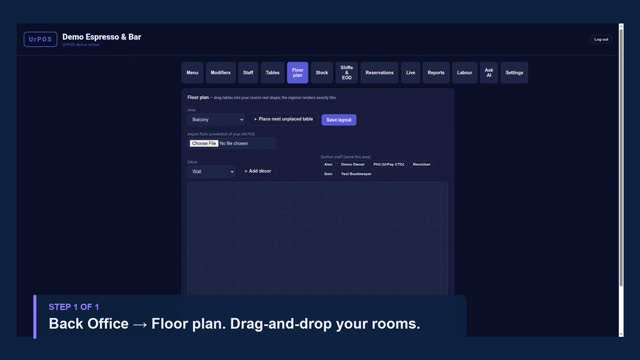 ▶Design your floor planDrag-and-drop your rooms
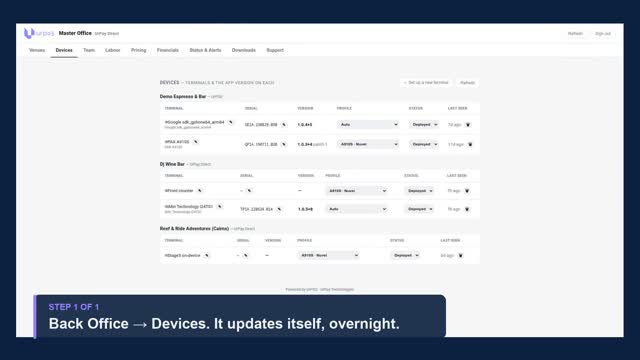 ▶Software updatesIt updates itself, overnight
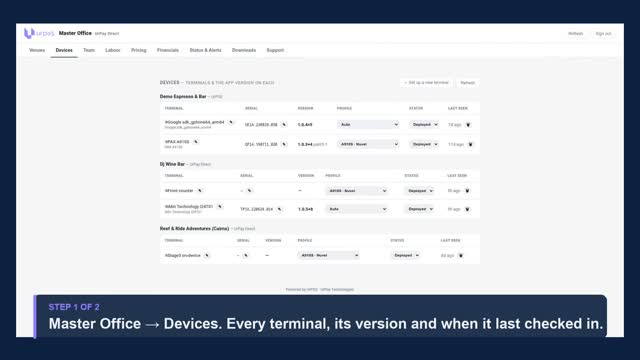 ▶Pair a new terminalOne code, typed once — nothing to install
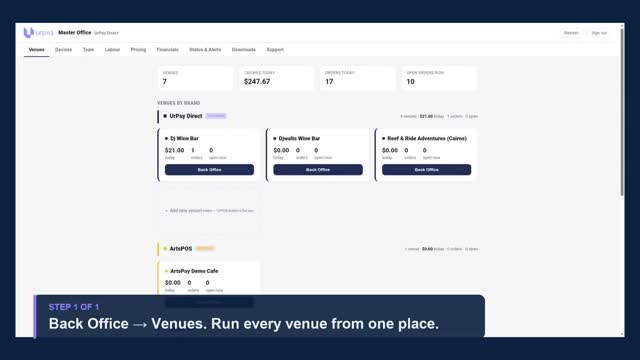 ▶Master Office tourRun every venue from one place
Merchant Review — statement analysis & proposals (partners)
What it is: drop a merchant's card statement in, get their true payment costs (today AND from 1 October 2026), and issue a branded proposal — three steps, about two minutes.
How: (1) Open Merchant Review and sign in. (2) Drop the statement PDF — merchant, turnover, average sale, card mix, their rate and fixed fees pre-fill automatically from the statement (anything not printed is left for you). (3) Confirm the business type (MCC), choose how THEY are priced (blended or interchange++) and how YOU want to price the UrPay offer (IC++ margin in bps, or a blended %). Results update live as you type. (4) Enter your name in "Reviewed by", tap Issue proposal, share the link.
Good to know: AMEX / eftpos / International can be excluded with one tap. October figures marked "provisional" update automatically as final scheme rates are confirmed — so does every proposal link you've already sent. If a statement is a photo/scan it can't be auto-read yet: enter the numbers manually.
Every review is saved with the merchant, acquirer and your reseller tag — it builds our market pricing intelligence.
Getting started
PayPOS runs on Android payment terminals, countertop tablets and any browser. Your venue is configured entirely in the Back Office; day-to-day service happens on the register.
- Sign in to the Back Office with your venue and owner PIN (your reseller issues these at setup).
- Build your menu (import beats typing — see Menu).
- Lay out your rooms in the Floor plan designer.
- Add your team in Staff — each person gets their own PIN.
- Open the register, sign in with a staff PIN, and you're trading.
Everything your reseller can pre-build for you (menu, tables, branding) they can do in minutes with the setup wizard — ask them.
Using the register
Sign in with your 4-digit PIN. The floor screen shows your rooms exactly as designed — free tables show seat counts, occupied tables show the live total and how long the party has been seated.
- Tap a table to open or resume it. New tab starts a named bar tab or takeaway.
- Add items from the photo grid; modifier choices pop up automatically; open-price items ask for the amount.
- Send fires new items to the kitchen. PAY takes payment — in full or split.
- On a resumed table you can change quantities or void sent lines (voids are tracked in Reports).
Floor plan designer
Back Office → Floor plan. The register renders exactly what you design here.
- Pick an area (Dining, Courtyard, Bar…) — manage areas in the Tables tab.
- Place tables, then drag them into your room's real shape. Tap a table to set label, seats, shape (rectangle/round) and size.
- Add décor — walls, the bar, dividers, plants, text labels — so the map reads like your actual room.
- Import from a screenshot of your old POS: AI reads the layout, shapes and table numbers and rebuilds it here. Review the draft, apply, tidy.
- Hit Save layout. Registers pick it up on next refresh.
Staff & roles
Back Office → Staff. Each person gets a name, role and their own PIN (PINs are stored hashed — nobody can read them back).
- Owner / Manager — full Back Office + register.
- Server — register only.
- Finance — Reports (and invoice history) only: perfect for your bookkeeper.
- Reservations / Roster — activate with those modules.
Deactivate a staff member the moment they leave — their PIN stops working everywhere instantly.
POS Service Fee
Back Office → POS Service Fee. A single percentage applied identically to every transaction — every payment method, every customer — and baked into the price shown. It is a price component, not a card surcharge, which is what keeps it clean under the RBA's October 2026 surcharge rules. Set the %, optionally enable exact-recovery gross-up, save. The register shows one inclusive total; Reports shows exactly how much the fee recovered.
Seats & split bills
- Opening a table shows seat chips (Shared, 1…N). Pick a seat before adding items and the kitchen knows who ordered what — food runs without the "who had the snapper?" dance.
- Split shows per-seat totals (each seat carries its share of the service fee).
- At payment, choose Split payment to take any number of part-payments — the register tracks the remainder and closes the order automatically when it hits zero.
Move & merge tables
Long-press an occupied table on the floor screen:
- Choose a free table → the whole order moves (party swaps table).
- Choose an occupied table → the orders merge into one bill (parties joining up). Lines and any part-payments carry across.
Server sections
In the Floor plan tab, tap staff names under Section staff for each area. On the register, an area assigned to the signed-in staff member is highlighted — your section at a glance. Assignments take effect immediately.
Kitchen display (KDS)
Open /kds.html on any kitchen or bar tablet and sign in with any staff PIN (the session is kitchen-only — it can't touch the back office). Tickets appear the moment the register hits Send or a customer orders by QR.
- Tickets age-colour: green → amber at 8 minutes → flashing red at 15.
- Tap a line to bump just that item, or BUMP TICKET to clear the lot.
- Filter by station: All / Kitchen / Bar (uses each item's kitchen route).
- QR-originated orders carry a gold QR badge so the pass knows nobody's coming to run it.
QR ordering at the table
A venue module (your reseller ticks it at setup, or ask them to enable it). Back Office → Tables → Table QR codes prints a code per table.
- Guests scan → see the branded menu with photos → order from their phone.
- Orders land on the same bill as the table's open order — staff and QR share one tab — and fire straight to the kitchen screen.
- Prices always come from the venue's live menu, never the phone.
- Payment stays with your server for now; Pay at table arrives with payments go-live.
Reservations: confirmations, reminders & cancellations
Bookings live in Back Office → Reservations (create, seat, no-show, cancel; optional deposit rule). The SMS lifecycle is on by default for every venue:
- When a booking is made (by staff or the AI concierge), the customer gets a confirmation text with a manage-booking link.
- Before the booking they get a reminder text — replying YES confirms they're coming.
- They can cancel by replying CANCEL or via the link — the venue is notified instantly and the table is freed.
- Turn each message on or off, set the reminder lead time, or edit the wording in Back Office → Settings → Reservation SMS (placeholders:
{{name}} {{party}} {{venue}} {{time}} {{link}}).
- Texts transmit once the venue's SMS number is connected.
Text-in orders & Pay-by-Link
Customers can text the venue their pickup order — it's read automatically, created in the register, and the reply includes the total and a secure payment link.
- Staff can send a Pay-by-Link for any open order; the customer pays on their phone.
- On payment the order closes as paid, the receipt prints, and the payment reports as its own tender in Reports and end-of-day.
- No card details are ever handled at the venue — the link is a secure hosted payment page.
Cash drawer, shifts & close of day
Back Office → Shifts & EOD. The industry-standard cash flow, kept simple:
- Open the drawer with your starting float.
- During service, log paid in / paid out / cash drops with a reason — the expected-cash figure updates live (your X-read at any moment).
- Close the drawer: enter the counted cash; PayPOS shows No difference, Cash over or Cash short and keeps the variance history per session.
- Close the day: the Z-report locks today's numbers (one per trading day, sequentially numbered), snapshots sales, categories, payment methods, staff sales, voids and every drawer session — and pushes the summary to your alert channels.
The day won't close while tables or tabs are still open — settle them first. That's deliberate: a Z-report should never have loose ends.
Clock On/Off
Works for every venue out of the box — a free shift time-tracker, no setup required.
- On the register, the header has a Clock On/Off button for whoever's signed in.
- On KDS, the 🕒 Clock On/Off button opens its own PIN prompt — a different kitchen staff member can clock themselves on or off without disturbing whoever's already signed in to the shared screen.
- Left clocked on by accident? A safety net automatically clocks anyone off after 14 hours.
If you connect Deputy
An owner or manager can turn on a hard gate in Back Office → Shifts & EOD (or it's asked once during setup, if Deputy or Tanda was selected). There's no half-way option — it's either enforced or it's off:
- On: staff can't clock in unless they're actually rostered for that shift in Deputy right now.
- Off: no roster check at all — Clock On/Off just keeps working as a local time-tracker.
- Link each staff member to their Deputy profile in Back Office → Staff (Deputy employee ID column) before turning the gate on.
Reports
Back Office → Reports. Today / 7 / 30 / 90 days, in your venue's timezone: revenue, orders, average order, service-fee recovery, tips and voids up top; then top items, category mix, day-by-day, staff sales and payment methods. Numbers here are the same ones Ask AI reasons over — one source of truth.
Ask your POS & the owner brief
Back Office → Ask AI. Ask plain-English questions — "how did Friday compare to last week?", "what should I push tomorrow?", "should I worry about voids?" — answered from your venue's real data, not generic advice.
The nightly owner brief lands automatically: takings, standouts, and anything odd in voids/discounts/refunds. Anomaly watch runs with it.
Invoice scanning
Ask AI tab → Invoice scanning. Photograph a supplier invoice; AI extracts supplier, date and every line (item, qty, unit, price) into structured data. Today that kills manual keying; as the inventory module lands, scanned prices will drive live GP per dish.
Master Office & the setup wizard (resellers)
Your Master Office shows every venue you manage — live takings, orders, open tables — with one-tap entry to any venue's Back Office.
Add a venue in 5 steps
- Basics — name, venue type (sets sensible template defaults), timezone.
- Branding — paste their website; logo, imagery and colours are scraped automatically.
- Menu — POS export CSV, a photo of the menu, or their website.
- Tables — CSV or a screenshot of their current POS map.
- Modules — tick what they use: Xero, Deputy, Tanda, MYOB, Deliverect, QR ordering, Pay at table.
PayPOS builds the venue and issues the owner PIN once — hand it over securely. Everything is editable afterwards in their Back Office.
Devices & app versions (Master Office)
The Devices panel in your Master Office lists every terminal across your venues and the exact app version running on each — so you can confirm a fix has reached a site, or spot a terminal that hasn't checked in.
- Each terminal reports itself automatically the first time the app launches — no setup.
- You see its friendly name, model, current version (and patch), device profile, and when it last checked in — a green dot means seen in the last few minutes.
- Resellers see only their own venues' terminals; platform admins see everything.
Set your default pricing (resellers)
Master Office → Pricing. Set what you charge a merchant for PayPOS once, and the setup wizard pre-fills it for every new venue you build — instead of retyping the same four fields on the fortieth venue.
These are defaults, not charges. Saving here pre-fills new venues only. It never reprices a venue you have already built — each venue keeps the terms recorded on its own licence — and you can override the default per venue at step 7 of the wizard.
What you set
- Pass the licence fee on to merchants — untick if you absorb it. New venues then start on no licence fee, and you can still set one venue by venue.
- Charging model — no licence fee · per terminal · per venue (flat, whatever the terminal count) · % of card turnover (billed monthly on actuals).
- Billing period — monthly or annual.
- How it settles — net off commission (the default), invoice you directly, or debit the merchant with their fees.
- Hardware recovery defaults — a typical terminal cost and a recover-over period, used only to pre-fill the recovery form. Nothing is charged just because a default exists here.
Why "net off commission" is the default. On a white-label deal, debiting the merchant directly puts UrPay's name in front of a merchant who believes you are their provider.
Charge a merchant for hardware over time (resellers)
If you supply a terminal and want to recover its cost monthly rather than charging up front, opt that terminal in at step 7 of the setup wizard — the same screen as the licence pricing.
- It is per terminal. Step 7 lists every POS terminal you entered at step 6; tick only the ones you want to recover on. Absorbing the cost on two units and recovering on a third is a normal deal and the system is built for it.
- Kitchen displays and integrated payment terminals are not listed — they are not licensed units.
- The monthly amount is the cost divided by the months, rounded up, so the last instalment is smaller, never larger. A merchant never pays more than the terminal cost.
- It stops by itself. Once the terminal is paid off, the recovery completes automatically and nothing further can be charged against it. An overpaying final instalment is trimmed to what is actually outstanding.
- A terminal carries one recovery at a time. If the deal changes, a recovery can be waived — it stays on the record with the balance written off.
Opting a terminal into recovery registers the unit up front, then issues its activation code — so the handover sheet works exactly as it does for any other terminal.
Read the Financials page
Platform admins only (UrPay). The tab does not appear for resellers, and the data behind it refuses a reseller sign-in outright — it is not a filtered view.
Master Office → Financials. Every deal and every hardware recovery across every reseller, with one search box that matches a venue, a reseller or a terminal.
- The four tiles — monthly licence, monthly recovery, outstanding recovery, and at risk.
- At risk means money still owed on a terminal that is returning, retired, or sitting in an archived venue. Those rows are highlighted in the recovery table — chase the balance or write it off.
- Deals — one row per venue: model, rate, terminal count, monthly and how it settles. A deal priced on % of card turnover shows on actuals rather than a monthly figure, because it cannot be resolved without turnover.
- Hardware recovery — one row per terminal: cost, term, monthly, recovered, outstanding, status.
- Filter by reseller, licence model, settlement route or recovery status, and export the lot to CSV.
Every figure is derived from current terms and current recovery state — what would be charged, not what has been. Billing runs are not built yet, so this is not a revenue report.
Generate a licence agreement
Not yet available to issue for signature — pending legal review. Every preview is stamped DRAFT — NOT FOR SIGNATURE, and issuing for signature is blocked in the system until a lawyer has settled the wording. Do not put it in front of a merchant to sign.
PayPOS generates a POS Software Licence Agreement per venue from the terms already recorded against it. Open it from the Agreement button on the venue's row in Financials.
- The Provider is the reseller — a merchant on your brand is licensed your product. UrPay appears only as the owner of the software.
- The body is the same for every deal. Schedule 1 is generated live: venue and site address, the licence fee in the venue's own terms, the commencement date, how fees are collected, and a per-terminal hardware recovery table with each terminal's cost, term, monthly amount, start date and outstanding balance.
- The venue's ABN, address and notice email come from its Back Office receipt settings — fill those in first if they are missing.
- Use the Print button to save a copy as PDF.
Floor-plan best practice
- Mirror reality. Staff think spatially under pressure — if the map matches the room, mistakes drop.
- Name areas the way staff talk ("Courtyard", not "Zone 2").
- Set true seat counts — they drive seat allocation, split bills and (soon) covers reporting.
- Use décor sparingly: the bar, key walls, a plant or two. Landmarks, not architecture.
- Watch the seated-timer. A table ticking past 90 minutes shows amber — your table-turn early-warning.
- Review the layout each season — if the room changes, change the map the same day.
Software updates
PayPOS updates itself. There is nothing to download and no button staff need to press day to day.
- Automatic, overnight. New versions download quietly in the background and apply during a quiet window (2–3am local) while the till is idle — never during a sale. If a terminal was switched off overnight, the update simply applies the next time the app is opened, before trading.
- Never mid-service. An update is only ever applied when the till is on the PIN screen with no order open. A sale in progress is never interrupted.
- Manager "Apply update" (optional). When an update is waiting, a manager or owner sees a small update icon in the top bar of the floor screen. Tapping it applies the update immediately — about a 5-second restart. It asks to confirm first, and is only shown to managers/owners, off the sale screen, so it can't be tapped by accident during service.
- Bigger changes. Occasionally a change needs a fresh install rather than an over-the-air update — your reseller will let you know on the rare occasion that applies.
FAQ
Is PayPOS a payment surcharge system?
No. Payments are handled by the certified terminal layer; the optional POS Service Fee is uniform pricing, not a surcharge.
Do I need internet?
Yes — PayPOS is online-first. Payment terminals retain their own offline store-and-forward for card payments.
Can I keep Xero / Deputy / my delivery platforms?
Yes — that's the point. PayPOS plugs into what you already use via PayCONNECT; own modules exist only as free defaults if you have nothing.
Where's QR ordering / pay at table?
Both are packaged as venue modules (your reseller can pre-tick them). QR ordering ships as the first post-MVP fast-follow; Pay at table arrives with payments go-live.
Who sees my data?
Your venue's data is isolated per venue and per partner. AI features read your own venue's aggregates only.